Crafting a felt garland is a holiday decor project that even young children can get into. They’ll love splashing in the warm water and rolling the soft wool between their hands. It’s a good thing it’s fun because if, like me, you’ve never felted before, making even these simple pompoms can turn into a time-consuming task. No matter: One of the best parts about holiday decorating, from trimming the tree to hanging the stockings, is spending quality time with the ones you love – even if it leaves you with dishpan hands.
You’ll need
- Wool roving in red, blue, green, white and grey (about 50 grams each)
- Bowl of warm water
- Dish soap
- Dish brush
- Towel
- Yarn needle
- Silver embroidery thread
- Measuring tape
- Scissors
- Four small removable sticky hooks
Method
Step 1. Begin by deciding on a pattern so you know how many pompoms you need, and in which colours. For my three-metre garland, I made a total of 34 pompoms (eight green, eight blue, eight red, five white and five grey).
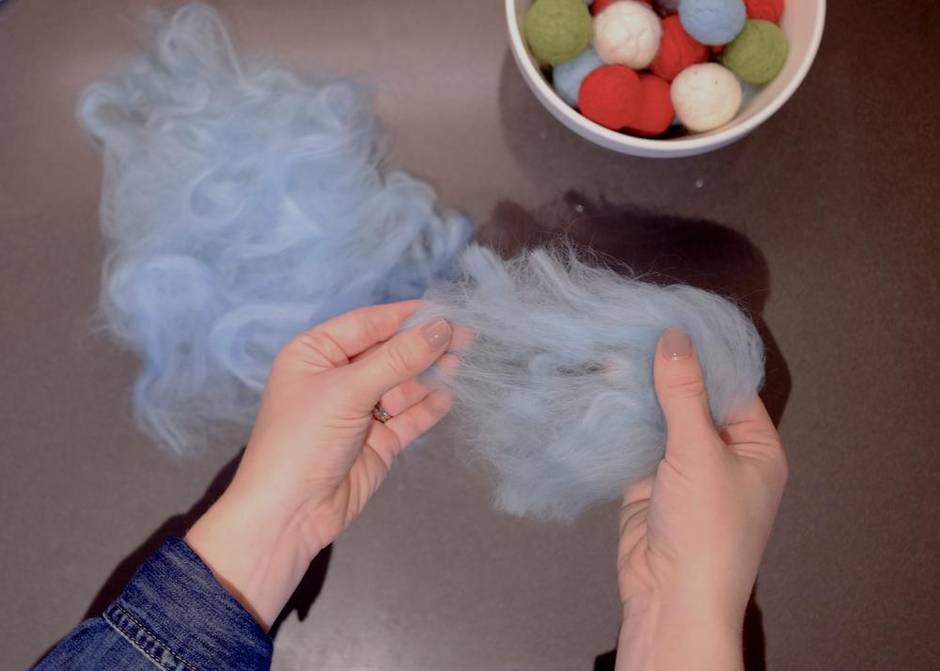
Open your first bag of wool and cut the number of lengths you’ll need in that colour. For 11/2-inch (four cm) pompoms, measure out seven-inch (18 cm) sections of wool roving (or roughly the length of your hand, from wrist to fingertips). Begin by teasing the wool apart, separating the fibres as much as possible.

Step 2. Standing over a sink, fill a medium-sized bowl with warm, soapy water. Put the wool in the palm of one hand and place a small drop of soap in the centre. Sprinkle warm water from the bowl all over the wool. Cup your hands together and begin rubbing the wool gently to create a loose ball.
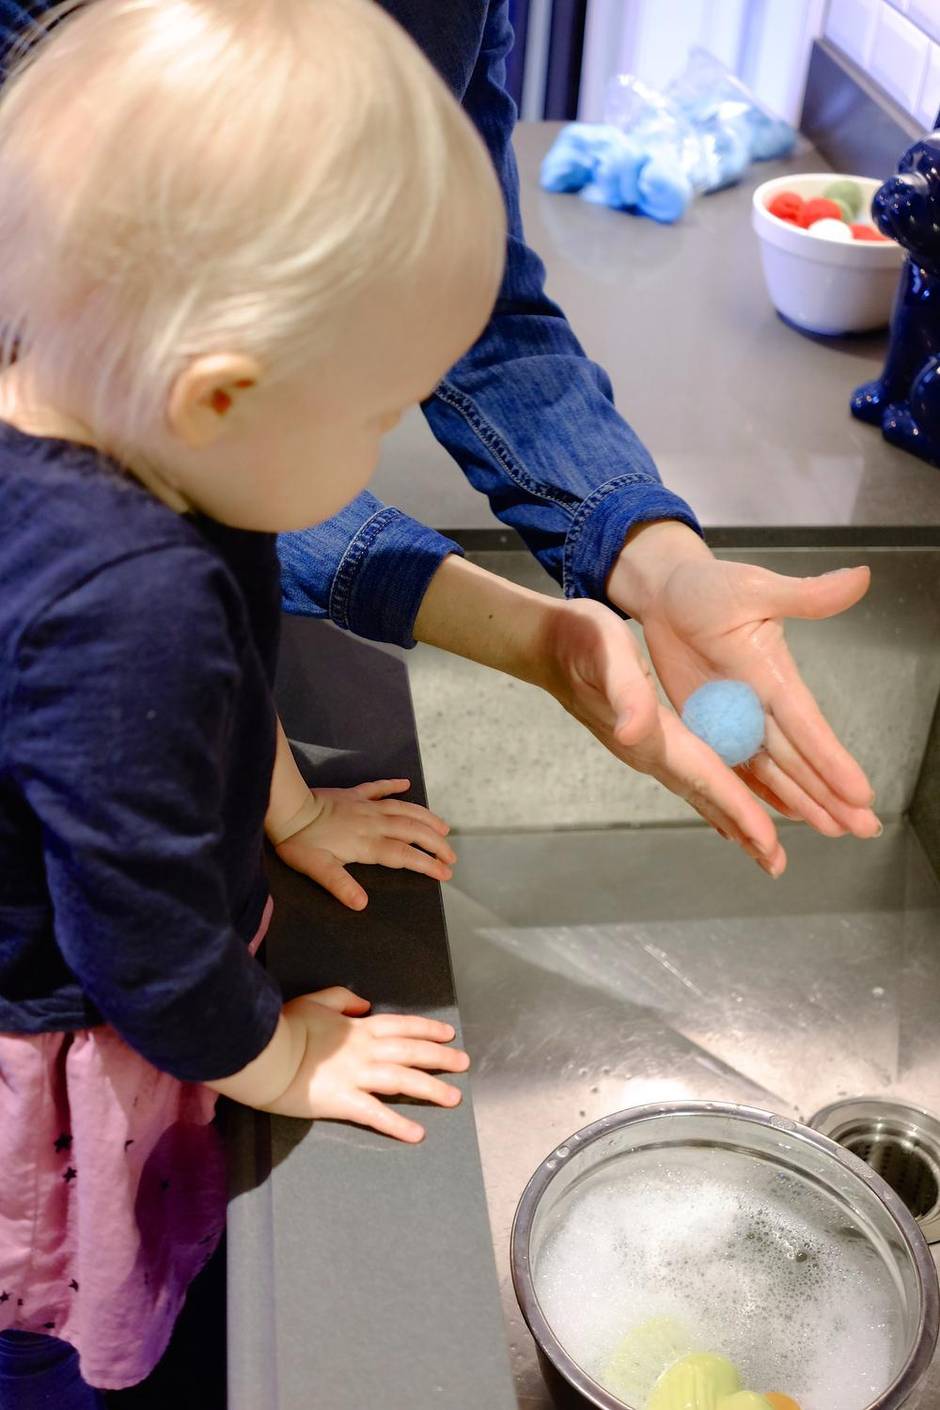
Step 3. Continue rolling the pompom between your palms, gradually increasing the pressure, as if you’re forming a meatball. It will begin to take shape after about a minute. Dunk the pompom in the bowl, so that it’s saturated with water. Roll it a bit more, then stop and have a look at it. Work out any major cracks or dents by gently rubbing a clean dish brush over those areas. ( Some imperfections will remain, but they add charm to a homemade decoration.)
Roll the pompom for another minute or so, adding more pressure. Once it’s down to about 11/2 inches in diameter and feels firm, turn on the tap. Run the pompom under warm water, squeezing gently and rolling as you rinse out the soap.
When you’re finished, line all the pompoms up on a towel to dry overnight.
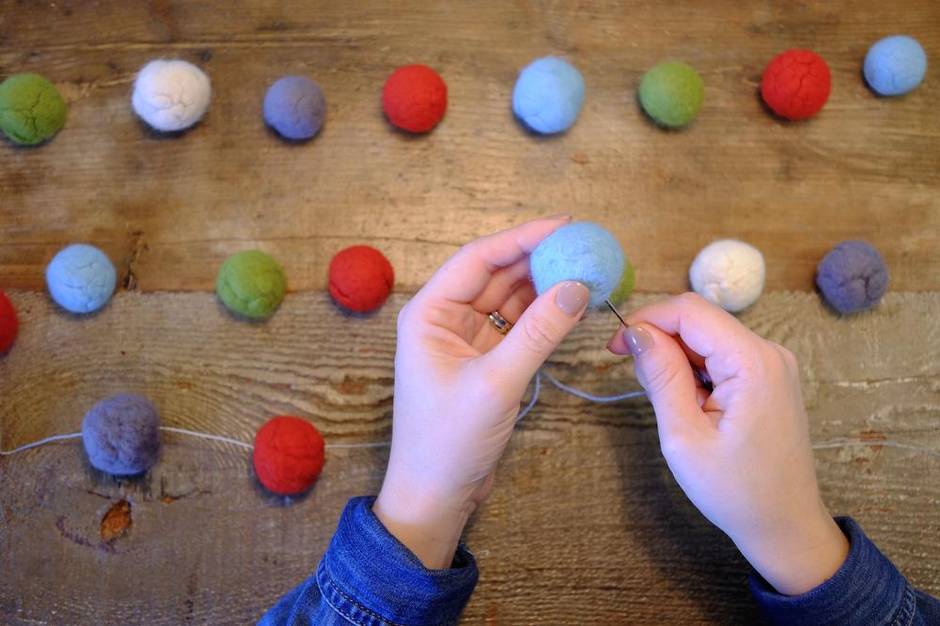
Step 4. Arrange the pompoms according to your pattern, so it’s easy to follow as you thread the garland. Measure and cut about 12 feet (3.7 m) of thread. Secure the needle to one end and thread the first pompom, pushing it all the way to the end; add the next one so they’re about 2 inches (five cm) apart.
Once all the pompoms are threaded, cut off the needle and lay the garland down on the floor in a straight line so you can see it in its entirety. Readjust the spacing of the pompoms as necessary. Tie loop knots on each end of the thread, to hang it.
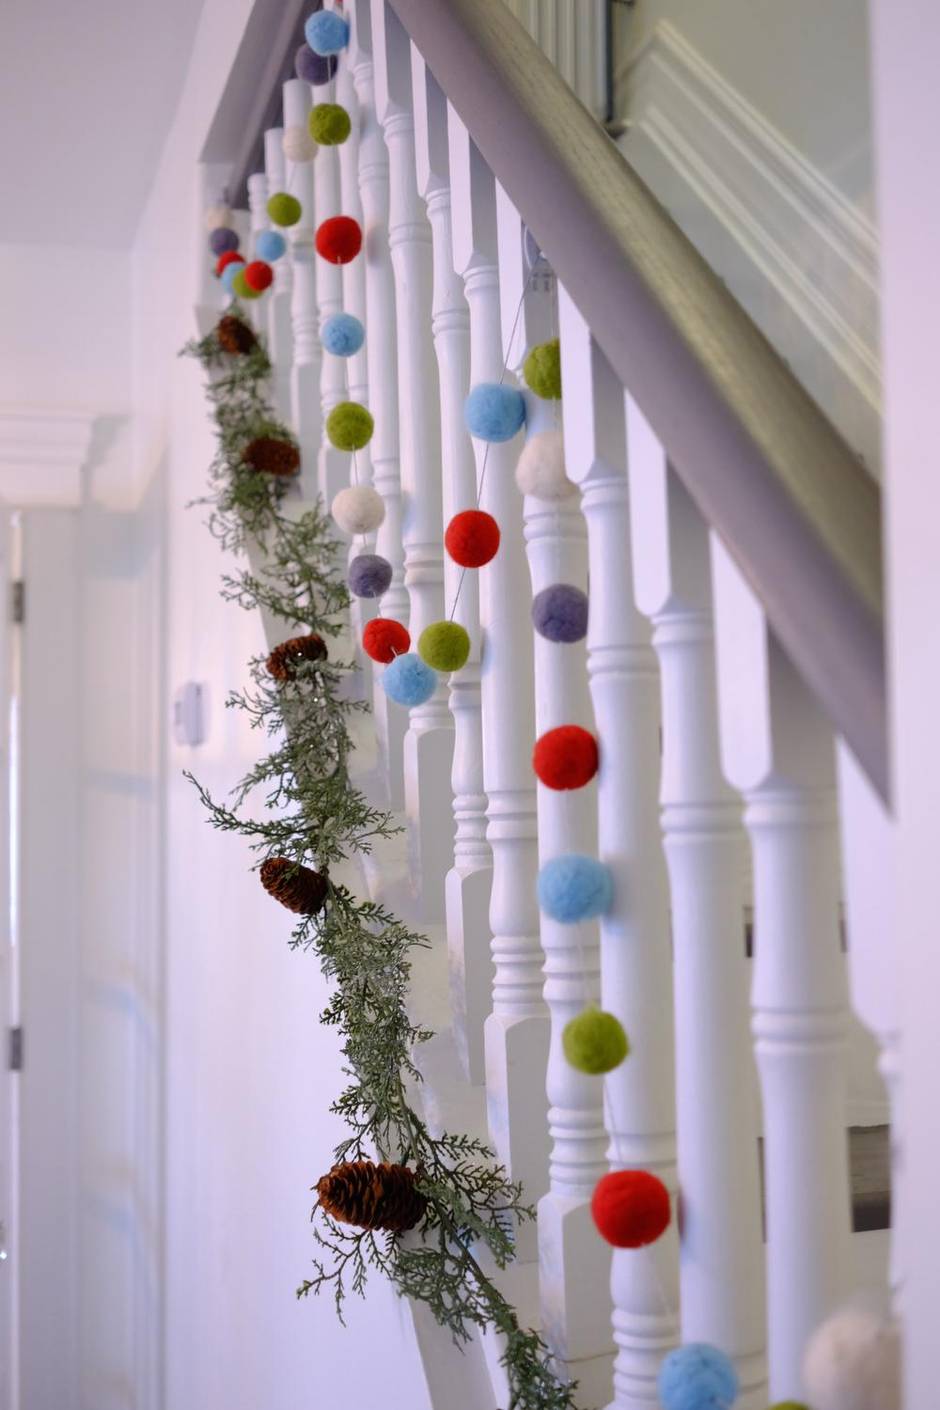
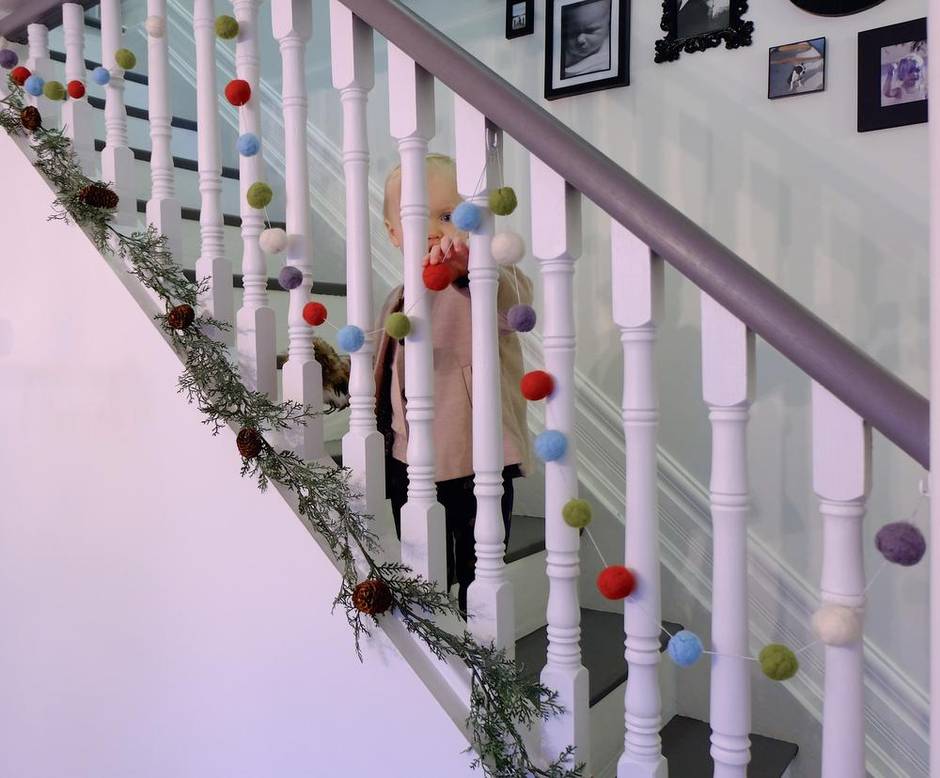
Step 5.Place a sticky hook at each end of your staircase, then two evenly spaced on the balusters in between. Loop one end of the garland over the top hook, allow a section to hang, then wrap the thread between two pompoms around the next hook. Continue down to the bottom hook, creating three even swags.
Add faux or fresh greenery along the bottom of the railing to give your display a little extra flair. No staircase to adorn? Sling this sweet garland over your fireplace mantle or around a doorway instead.