My husband’s side of the home office was in need of some work. He built a beautiful oiled black walnut desktop with gas pipe legs, but in order to fit the spot in the room, the desk could only be big enough to accommodate his computer. This left no place to stack notebooks or even keep a stash of pens, so a matching industrial style shelf was in order.
What you'll need

- Shelf board
- Tung oil
- 2 lengths of 1/2-inch gas pipe (2 inches longer than the depth of the board)
- 2 1/2-inch pipe flanges
- 2 1/2-inch end caps
- Degreaser
- Lint-free rags
- Nitrile or rubber gloves
- Clear coat spray paint
- 8 trim screws
- 8 wall anchors (Tap-N-Lock are easy to install)
- Level
- Pencil
- Measuring tape
- Hammer
- Phillips screwdriver
Step 1.
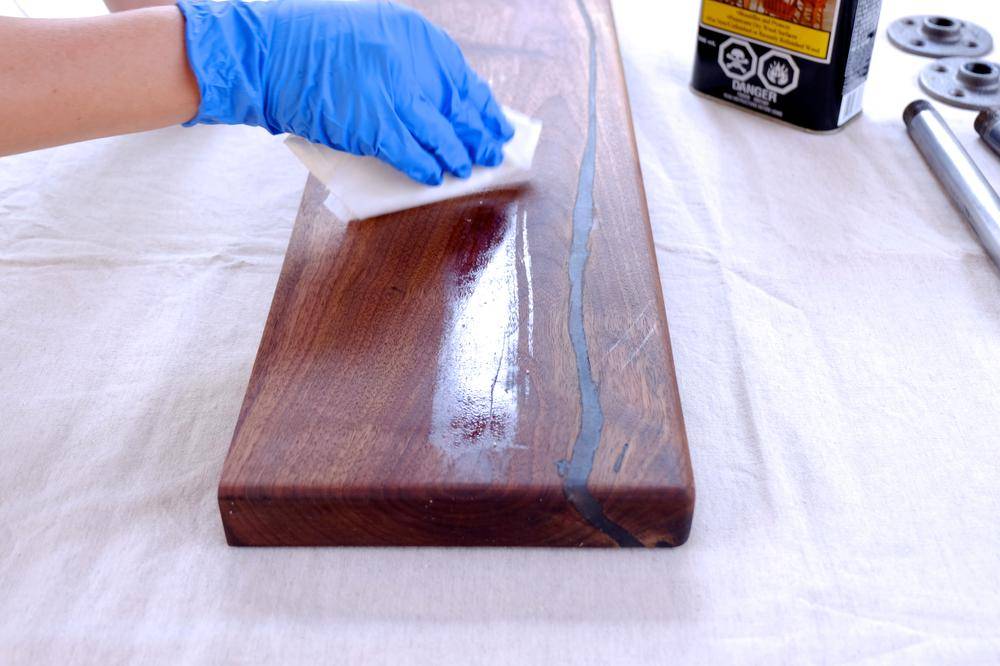
I found a piece of reclaimed black walnut at a local antique market to use for my shelf, but a pine board from the hardware store will work just as well. Next, the board will likely require some prep. A reclaimed board may need a gentle cleaning with soap and water, while a new board might need a light sanding to smooth a freshly cut end. Next, you can apply a stain to deepen the colour of the wood or apply an oil to simply protect it, as I’ve done. Wear nitrile gloves to protect your hands and follow the product instructions for either method. Allow the wood to dry thoroughly.
Step 2.
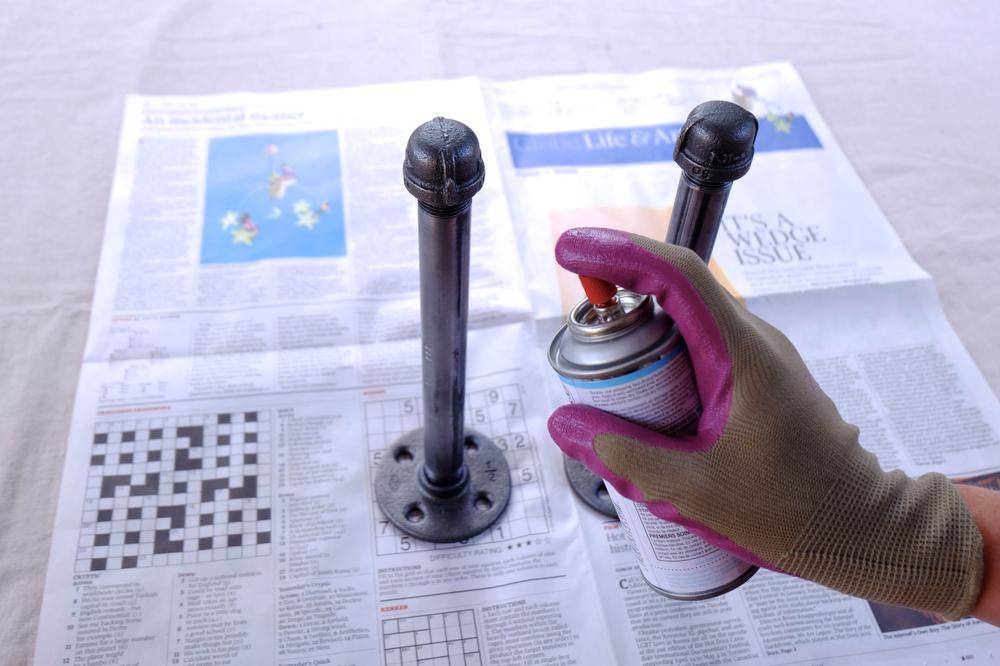
Purchase two lengths of gas pipe that are roughly two inches longer than your shelf is deep. Most hardware stores have precut lengths available, or you can ask an employee to custom cut one to the perfect length. (The big box stores will do this for about $10.) The pipes will be covered with grease to prevent rust and aid in the cutting process, so you’ll need to clean them. Wearing your nitrile gloves, use a degreasing cleaning product and some old rags to rub them clean, then screw the end caps on one end of each pipe and loosely screw the flange on the other end to stand the pipe up for easy painting. In a well-ventilated area, give both pipes a thorough coat of clear paint. When they’re dry, remove the flanges to mount them on the wall.
Step 3.
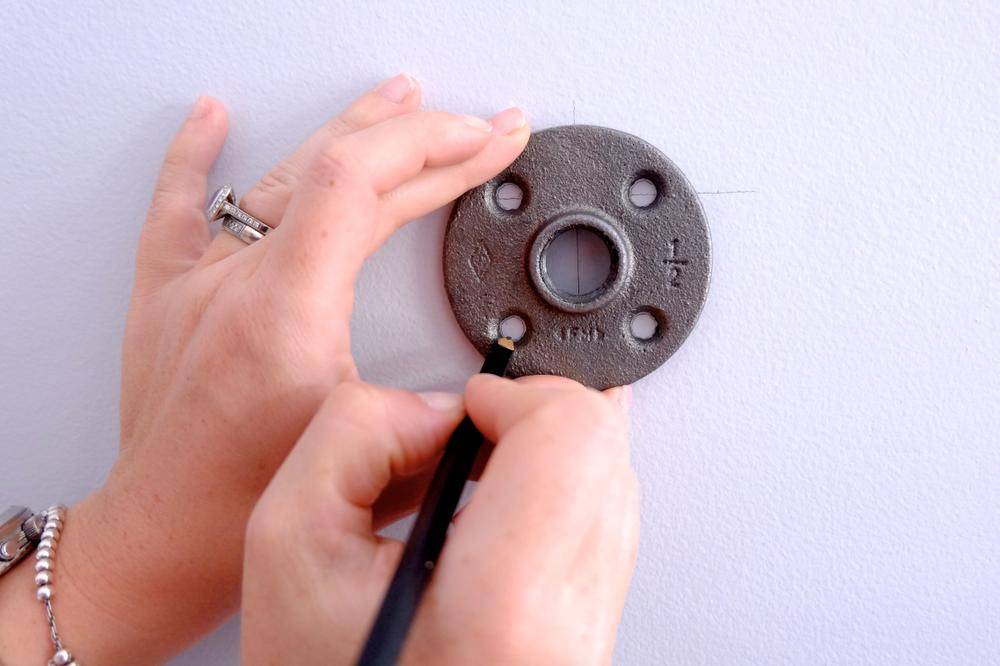
Decide exactly where the shelf will be hung. Subtract eight inches from the length of the shelf to give you the distance between the two brackets. Using a measuring tape, level and pencil, lightly mark those two points on the wall. Use the level to mark a four-inch vertical line through each of those points, then a horizontal line to create a lower-case “t” shape. Centre the flange over the “t” so you can see the horizontal line through the top two screw holes and vertical line through the middle of the threaded hole. Trace all four screw holes on the wall.
Step 4.
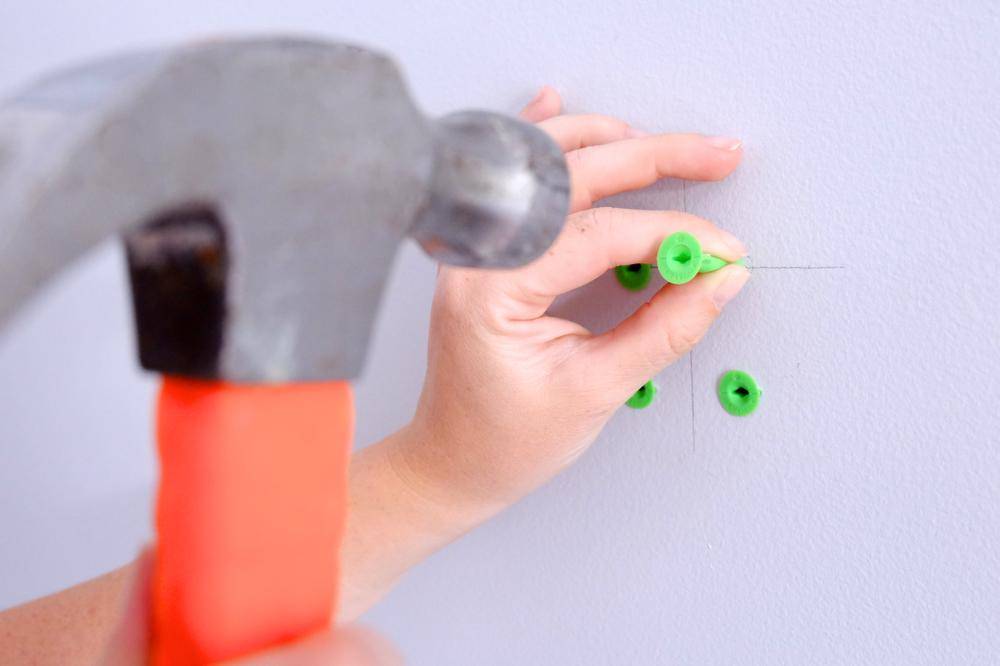
To insert the wall anchors, place the tip in the centre of the circle marked for the screw and tap it in with the hammer. Once they’re all in, place a flange over top and use the screwdriver to attach it to the wall with the screws. To keep the flange aligned, insert all four screws halfway before you tighten them. Next, wearing your gloves, screw a pipe into each flange until it’s snug. Do not over tighten.
Step 5.
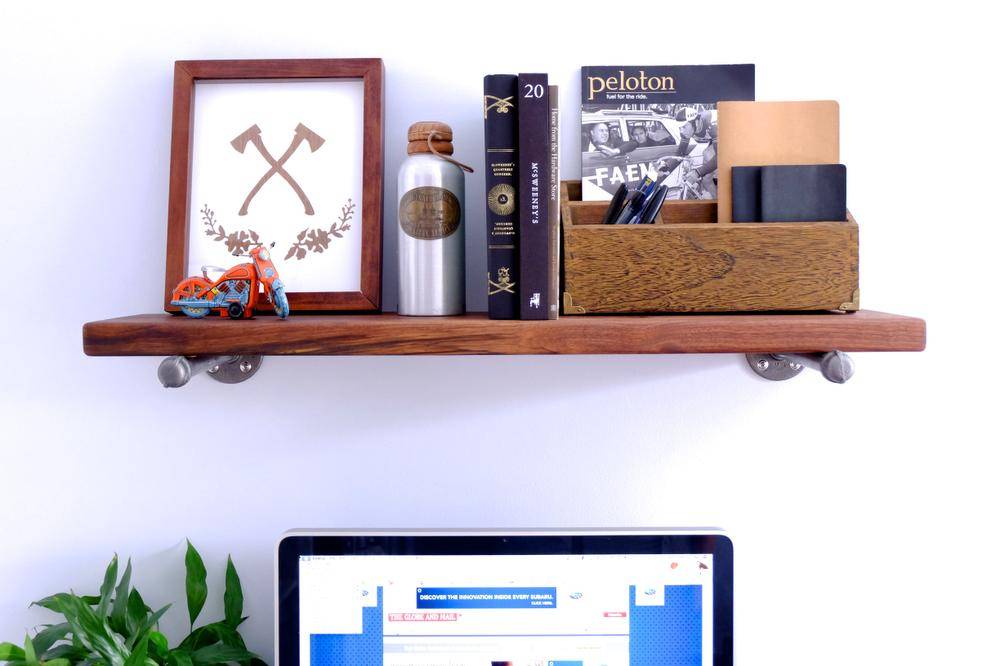
Place your shelf board on top, ensuring it’s centred over the pipe brackets. Add books and trinkets, and then stand back to admire your handiwork.